Daftar isi
How to add your First Workspace
Adding from the Overview Tab
In order to add a New Workspace from the Overview tab, you must do the following (Similar to adding a Client):
- Go to your Overview Tab.
- Click on Add a New Workspace on the Workspaces Widget.
- Enter your Workspace's Information
- Select Save Changes
Adding from the Navigation Pannel
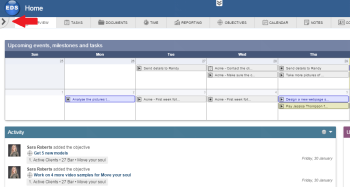
In order to add a Workspace (or Projects, Folders, Clients, etc.), you must enable the Navigation panel (if not enabled yet), by clicking on the small arrow indicated below:
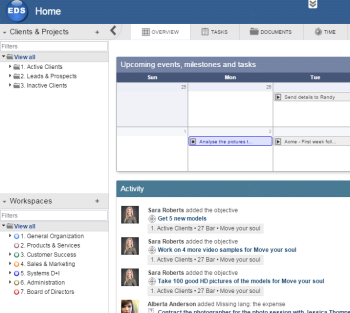
After enabling the Navigation panel, you must follow these simple steps:
- Click on View More at the bottom of the panel, and Enable Workspaces (if not enabled yet).
- Go to View All.
- Then, Click the Add (plus) Button.
- Enter the Workspace's Information.
- Hit the Add Workspace Button.


